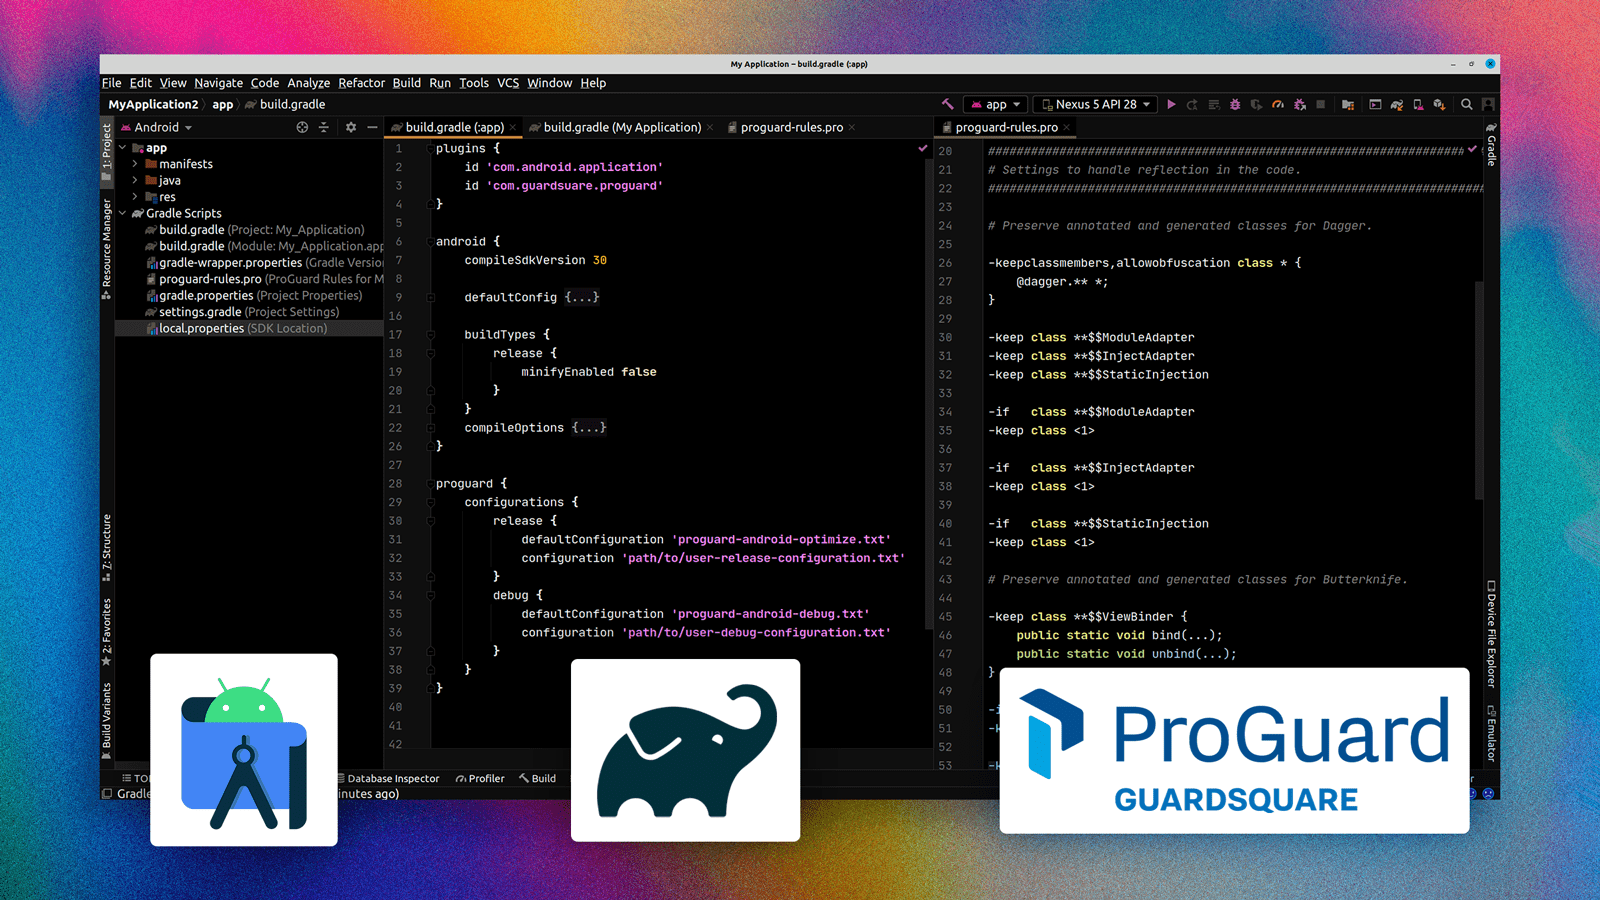
Using ProGuard with the Android Gradle Plugin

Let’s take a look at how the plugin can be obtained and applied to your android projects.
Note: As of Android AGP version 8, ProGuard is no longer supported. Android's default shrinker (R8) remains compatible with ProGuard's -keep rules. Based on ProGuard technology, DexGuard offers up-to-date advanced Android code hardening, runtime protection (RASP), and optimizer.
Obtaining the plugin
The ProGuard Gradle plugin can be added to your project by including the following dependencies in the buildscript of your root levelbuild.gradle(.kts)file. It is recommended to always include the latest version of this dependency, which is published to Maven Central and which can also be found on the ProGuard release pages on GitHub.
buildscript {
    repositories {
        // For the Android Gradle plugin.
        google()
        // For the ProGuard Gradle Plugin.
        mavenCentral()
    }
    dependencies {
        // The Android Gradle plugin.
        classpath("com.android.tools.build:gradle:x.y.z")
        // The ProGuard Gradle plugin.
        classpath("com.guardsquare:proguard-gradle:7.1.+")
    }
}
Applying the plugin
To use the plugin, you must apply it to your project. Simply add the following line to your module levelbuild.gradle(.kts) file.
apply plugin: 'com.guardsquare.proguard'Next, you need to disable any other optimizers like R8 so that ProGuard can use the unprocessed class files as input.
android {
   buildTypes {
       release {
           // Deactivate R8.
           minifyEnabled false
       }
   }
}
Finally, you have to configure ProGuard for each build variant you want to apply it to. A variant can be configured separately by providing configuration files in aproguardblock. This is a top level block that should be placed next to the android block.
android {
   ...
}

proguard {
   configurations {
       release {
           defaultConfiguration 'proguard-android-optimize.txt'
           configuration 'path/to/user-release-configuration.txt
       }
       debug {
           defaultConfiguration 'proguard-android-debug.txt'
           configuration 'path/to/user-debug-configuration.txt
       }
   }
}
This block allows you to specify a default configuration and a user configuration for each build variant. To help you get started with configuring ProGuard for your project, we have identified a number of rules that are required for ProGuard to process Android applications. These rules are available through the plugin’s default configurations. You should always pick one of the default configurations as a base to configure your project with.
| Default configuration | Description |
| proguard-android.txt | ProGuard will obfuscate and shrink your application. |
| proguard-android-optimize.txt | ProGuard will obfuscate, shrink and optimize your application. |
| proguard-android-debug.txt | ProGuard will process the application without any obfuscation, optimization or shrinking. |
While the default configurations apply some settings that are generally required, they cannot take into account any settings specific to your project. For example, ProGuard may not always be able to determine if code, package names or resources are accessed through reflection. In those cases, ProGuard may break cases of reflection by removing code or renaming packages and resources. These issues can be resolved by adding appropriate-keeprules in your user configuration file, which instruct ProGuard to not process certain aspects of your application.
Laurent Ferier’s blog post on configuring ProGuard is a good reference to guide you through the process of determining -keeprules for your project. Another useful tool that can help in this process is the ProGuard Playground. The Playground allows you to visually and interactively tweak your keep rules without having to rebuild your application. It also allows you to share your keep rules with others, for instance when asking for advice on the Guardsquare Community
Once your build files and ProGuard configuration are set up correctly, ProGuard will automatically be applied to the configured variants whenever you build your application.
Bringing it all together: an example
An example of a full ProGuard configuration for a sample app is available on the ProGuard GitHub repository. The build file of the example shown below illustrates how the snippets of the previous paragraphs should be used. The example also has a basic user configuration file which handles a number of reflection issues and specifies further optimizations.
// This build file illustrates how to apply ProGuard in the Android
// build process, with ProGuard's own plugin instead of the built-in
// minification support of the Android Gradle plugin.
buildscript {
    repositories {
        mavenLocal()   // For local testing
        google()       // For the Android Gradle plugin.
        mavenCentral() // For the ProGuard Gradle Plugin and anything else.
    }
    dependencies {
        classpath 'com.guardsquare:proguard-gradle:7.1.0-beta5'
        classpath 'com.android.tools.build:gradle:7.0.0-beta02'
    }
}

apply plugin: 'com.android.application'
apply plugin: 'proguard'

repositories {
    google()       // For the Android plugin.
    mavenCentral() // For anything else.
}

android {
    buildTypes {
        debug {
            // Disable the built-in minification
            minifyEnabled false
        }
        release {
            // Disable the built-in minification
            minifyEnabled false
        }
    }
}

proguard {
    configurations {
        release {
            defaultConfiguration 'proguard-android-optimize.txt'
            configuration 'proguard-project.txt'
        }
    }
}
Apply ProGuard to Your Android Projects
In preparation for the changes in the upcoming release of AGP 7, we’ve developed a ProGuard Gradle plugin. This new ProGuard Gradle plugin enables you to continue leveraging the software in current and future ProGuard Android projects.
In this blog post, we’ve outlined how this plugin can easily be obtained and applied to your Android projects in just a few simple steps. We also provided some resources to help you with setting up ProGuard, such as our latest blog post about configuring ProGuard and the ProGuard Playground.


